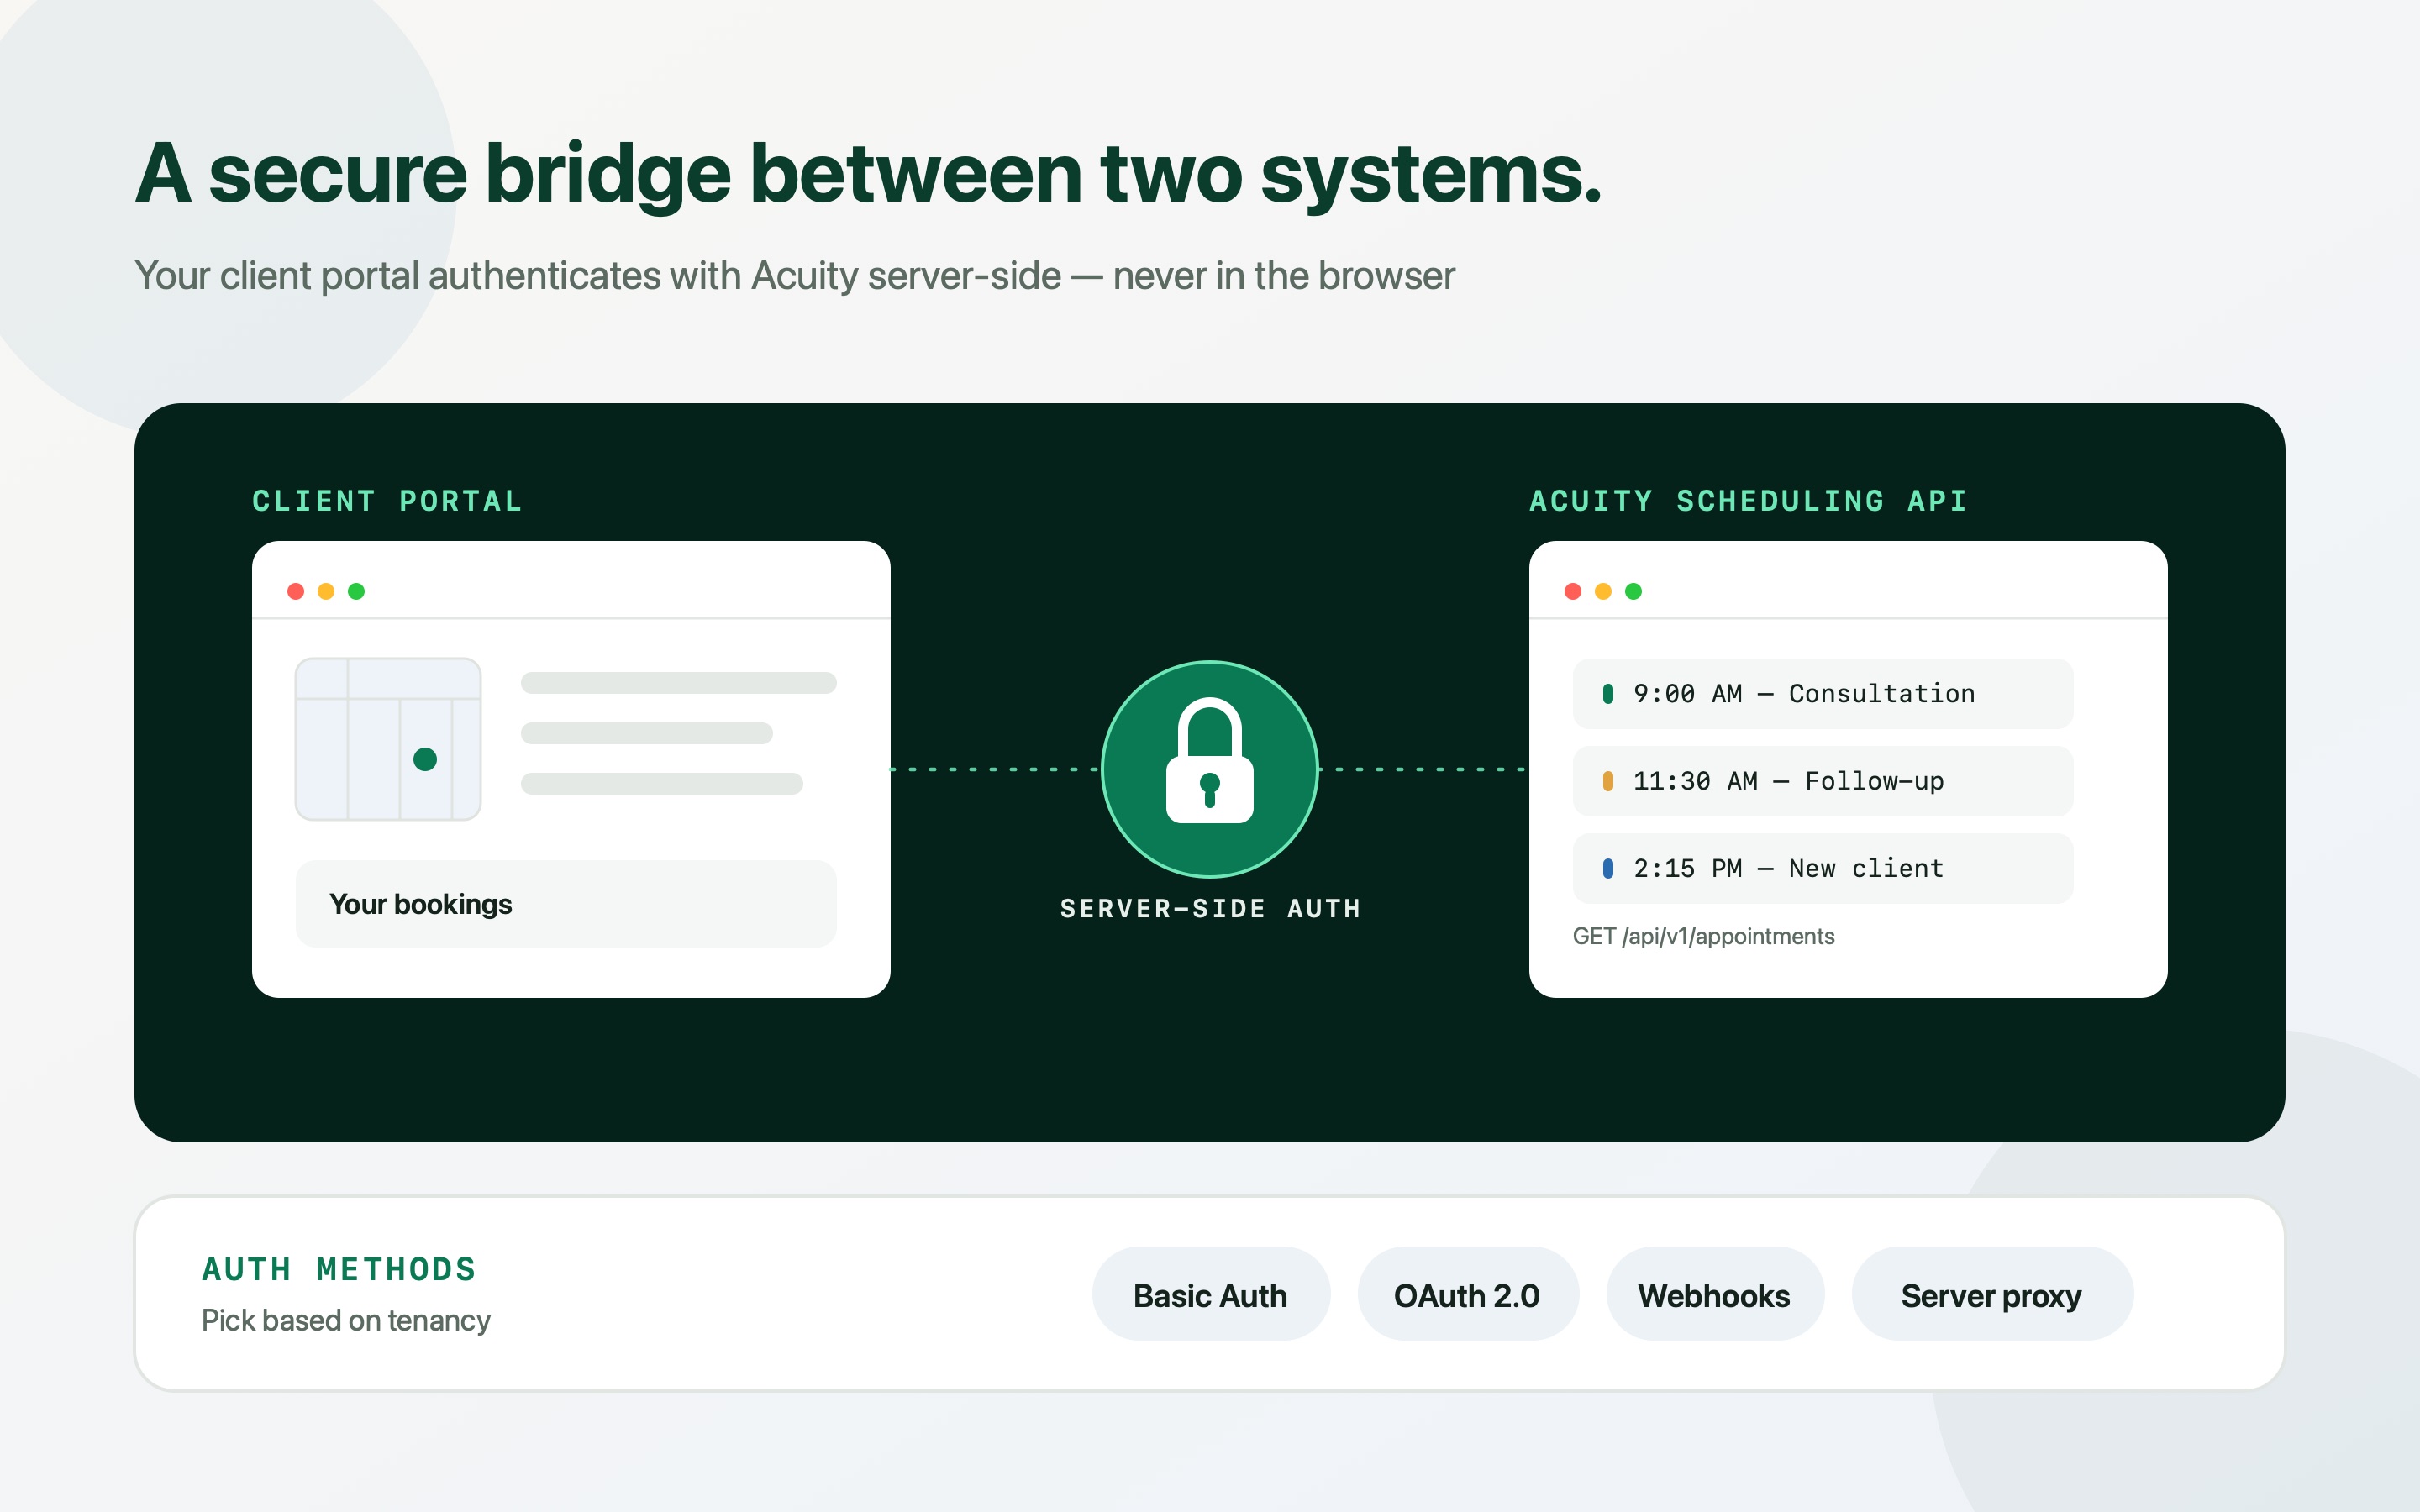
An iFrame gets you a booking widget with someone else's chrome around it. Authenticating directly against the Acuity API gets you a portal that looks, and behaves, entirely like yours.
If you're building a custom client portal — a coaching platform, a health clinic's dashboard, a SaaS product with scheduling built in — appointments are usually a top priority, and Acuity Scheduling is a solid engine to build on. The standard integration path is an iFrame, and it works, right up until you need the booking experience to look native, trigger a custom action on save, or show a client their own booking history inside your own UI.
None of that is possible from inside someone else's iframe. It requires authenticating directly with the Acuity Scheduling API from your own backend, then rendering the result with your own components.
This is the part teams get wrong first: which auth method actually fits their tenancy model, and how to keep the credentials off the browser entirely. Below is the decision, then the server-side implementation for both paths.
Choosing the right authentication method
Acuity gives you two paths to authenticate API requests, and the choice is really a question about who owns the calendar.
If you own the Acuity account and every client using your portal is booking against your business, Basic Auth with your API key is enough — there is no per-user token to manage because there is only one account. If your portal is a platform where independent providers each connect their own Acuity account, you need OAuth 2.0: each user has to grant your app access to their account specifically, and you store a token per user rather than one key for the whole system.
Get this choice wrong in either direction and it shows up later as rework — Basic Auth bolted onto a multi-tenant product means every user's bookings run through your single account, and full OAuth on a single-tenant portal is a token refresh flow you never needed to build.
| Basic Auth / API key | OAuth 2.0 | |
|---|---|---|
| How it works | Your Acuity User ID and API key, sent as an HTTP Basic Auth header | The user authorises your app, which exchanges a code for an access token scoped to their account |
| Best for | A single-tenant portal in front of your own calendar | A multi-tenant platform where each provider connects their own Acuity account |
| Implementation cost | One header, no token lifecycle to manage | An authorization endpoint, a token exchange, and per-user token storage |
Get your API credentials
Both paths start in the same place — the Acuity dashboard.
- Log into your Acuity Scheduling account: Using the account that owns the calendar you're integrating against.
- Navigate to Integrations → API: This is where both the Basic Auth credentials and the OAuth app registration live.
- Locate your User ID and API key: This pair is all Basic Auth needs — treat the API key exactly like a password.
- For OAuth 2.0, register your application: The developer menu issues a Client ID and Client Secret, and lets you set the Redirect URI Acuity will send the user back to.
Never expose your Acuity API key or Client Secret on the front end — not in a React bundle, not in a mobile app, not in a browser devtools request you forgot was public. Anything shipped to the client is readable by the client. Route every Acuity request through a server you control.
Authenticate on the backend — Basic Auth
Acuity's Basic Auth is standard HTTP Basic Auth, where the username is your Acuity User ID and the password is your API key. Base64-encode the pair once, hold it server-side, and attach it to every request.
Your portal's frontend never sees this header — it calls your own API route, and your server makes the actual request to Acuity.
const express = require('express');
const axios = require('axios');
const app = express();

const ACUITY_USER_ID = process.env.ACUITY_USER_ID;
const ACUITY_API_KEY = process.env.ACUITY_API_KEY;

// Base64-encoded once, reused on every request.
const authHeader =
  'Basic ' + Buffer.from(`${ACUITY_USER_ID}:${ACUITY_API_KEY}`).toString('base64');

// Your portal calls this route — it never talks to Acuity directly.
app.get('/api/portal/appointment-types', async (req, res) => {
  try {
    const response = await axios.get(
      'https://acuityscheduling.com/api/v1/appointment-types',
      { headers: { Authorization: authHeader } }
    );
    res.json(response.data);
  } catch (error) {
    console.error('Acuity auth error:', error.response?.data ?? error.message);
    res.status(500).json({ error: 'Failed to fetch appointment types' });
  }
});

app.listen(3000, () => console.log('Portal backend running on port 3000'));Authenticate on the backend — OAuth 2.0
If you're building a multi-tenant portal where each user connects their own Acuity account, follow the standard OAuth 2.0 authorization code flow: redirect the user to Acuity to authorize, Acuity redirects back with a code, and your server exchanges that code for an access token it stores against that user.
+--------+                               +---------------+
| Client | --(1) Redirect to Auth URL--> | Acuity Server |
| Portal |                               |               |
|        | <--(2) Return Auth Code------ |               |
|        |                               +---------------+
|        |                                       |
|        | --(3) POST Code + Client Secret ----->|
|        | <--(4) Return Access Token -----------+
+--------+https://acuityscheduling.com/oauth2/authorize?response_type=code&client_id=YOUR_CLIENT_ID&redirect_uri=YOUR_REDIRECT_URI&scope=apiapp.get('/oauth/callback', async (req, res) => {
const { code } = req.query;
try {
const tokenResponse = await axios.post('https://acuityscheduling.com/oauth2/token', {
grant_type: 'authorization_code',
code,
client_id: process.env.ACUITY_CLIENT_ID,
client_secret: process.env.ACUITY_CLIENT_SECRET,
redirect_uri: process.env.ACUITY_REDIRECT_URI,
});
const accessToken = tokenResponse.data.access_token;
// Save accessToken securely, associated with the logged-in portal user —
// an encrypted column, not a cookie or anything readable client-side.
res.redirect('/portal/dashboard?status=connected');
} catch (error) {
res.status(500).send('Authentication failed');
}
});Wire it into your portal's interface
Once the authenticated layer is in place, the frontend work is straightforward — it's just your own components calling your own API.
- Match the logged-in portal user to their Acuity client record: Usually by email address, so a user only ever sees their own bookings and never another client's.
- Fetch bookings through your proxy, not the browser: A route like /api/portal/appointments?email=client@example.com queries Acuity server-side and returns only what that user is allowed to see.
- Render native portal UI from the response: Cards, calendar views, reschedule buttons — built with your own design system, using Acuity's data rather than Acuity's iframe.
Security and operational practices
The auth method is the visible decision. These are the details that decide whether it stays secure once the portal is live.
Whichever method you choose, the constant is the same: authentication happens on a server you control, and the browser only ever talks to you.
| Area | Best practice |
|---|---|
| Token storage | API keys and OAuth access tokens belong in environment variables or encrypted database columns — never in client-readable storage. |
| CORS policy | Restrict your proxy API routes to your own frontend origin, so a third party can't call them directly with a stolen session. |
| Webhooks | Don't poll Acuity for updates. Subscribe to appointment.scheduled and appointment.canceled and update your portal's database in real time instead. |
Frequently asked questions
Should I use Basic Auth or OAuth 2.0 for Acuity?
Basic Auth if you own the single Acuity account every client books against — it's one header and no token lifecycle. OAuth 2.0 if your portal is multi-tenant and each user connects their own Acuity account — you need per-user consent and per-user token storage, which Basic Auth has no way to express.
Can I call the Acuity API directly from the browser?
No. Your API key or OAuth client secret would be readable in the bundle the moment it shipped — bundling is not obfuscation. Route every Acuity request through a backend you control, and have the browser call your own proxy route instead.
How do I match a portal user to their Acuity client record?
The simplest reliable key is email address: query Acuity's client or appointment records filtered by the logged-in portal user's email, server-side, so the response only ever contains that user's own bookings.
Should I poll Acuity for appointment updates?
No — set up Acuity Webhooks for appointment.scheduled and appointment.canceled instead. Polling costs you request volume and latency for information a webhook delivers instantly; use it to update your own database and read from that in your portal.
What OAuth scope do I need for booking and reading appointments?
Acuity's OAuth 2.0 authorization endpoint uses scope=api, which covers the API surface — appointment types, availability, client records and bookings. There isn't a narrower granular scope to request beyond that.